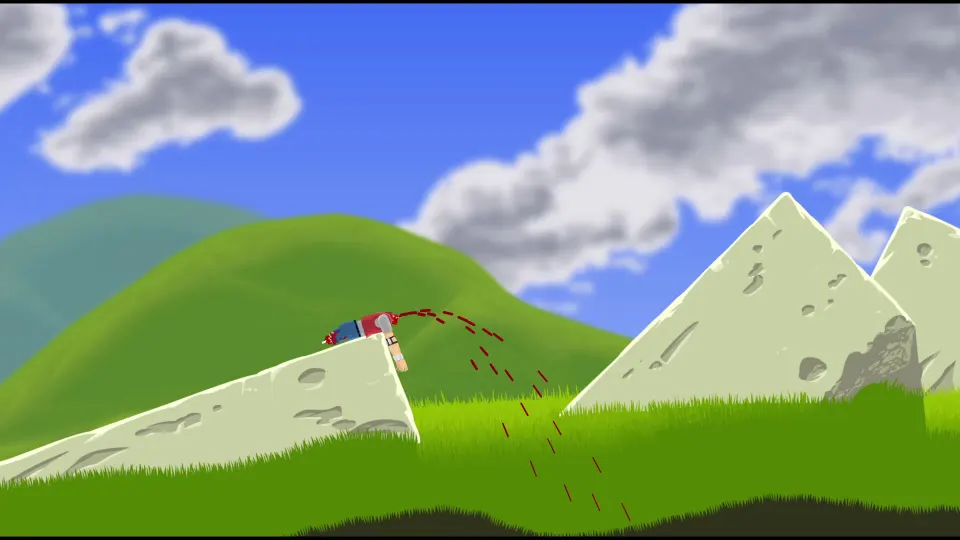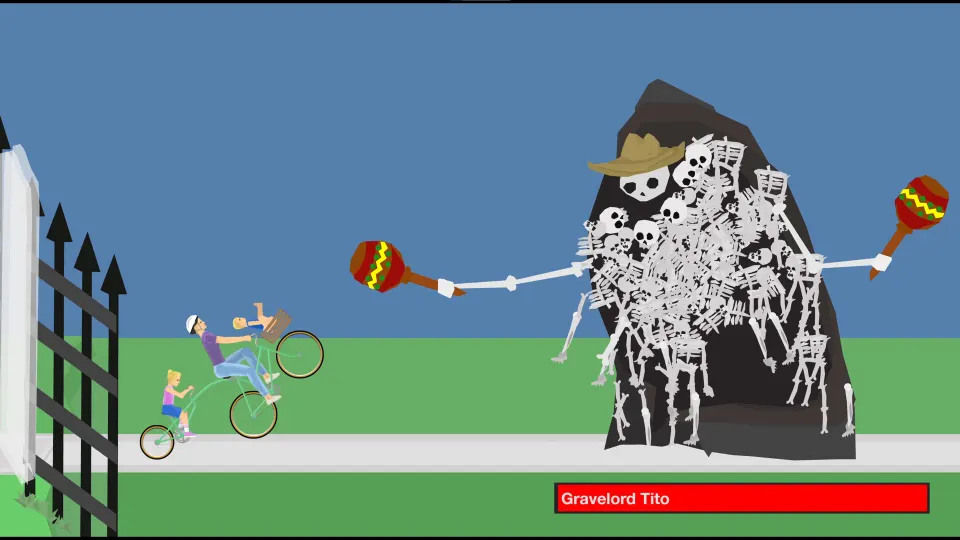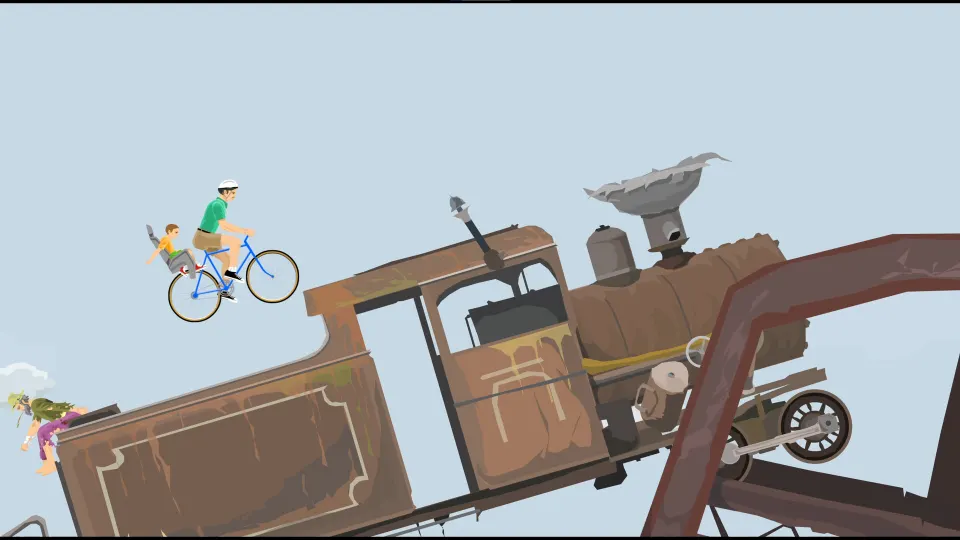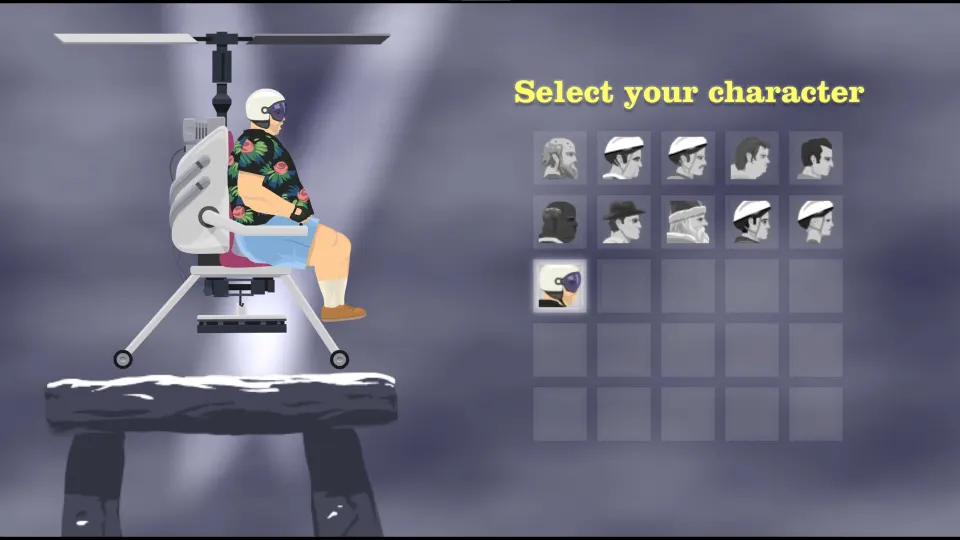
Start With a Playable Idea
The Happy Wheels level editor matters because it turns one good obstacle, joke, or stunt into a level other players can actually enjoy. Instead of placing hazards at random, build around a clear challenge, test it often, and give players enough information to react.
Begin with a short concept. A rope-swing course, vehicle trial, sword throw arena, escape sequence, or mechanical trap room is easier to finish than a massive adventure with no central hook. The strongest community levels usually make their main idea obvious within the opening seconds.
| Start with | Why it works | Simple example |
|---|---|---|
| One mechanic | Gives the level a clear identity | A course based on timed rope swings |
| One character choice | Lets you design around a vehicle and body physics | A Segway race with narrow ramps |
| One finish condition | Keeps the route focused | Reach the flag after surviving a trap sequence |
| One memorable moment | Gives players a reason to share it | A collapsing bridge or rotating gear room |
The editor opens on a large stage, and the default playable character is Wheelchair Guy. Treat the early area as a safe introduction instead of an instant punishment zone. Players should understand where to go, what can hurt them, and whether they need momentum before the first major hazard.
A useful opening structure is:
- Give the player room to move and learn the controls.
- Show the key obstacle from a safe distance.
- Include a low-risk practice version when the mechanic is difficult.
- Escalate the challenge after the player has demonstrated the required skill.
- Place the finish flag where success is unmistakable.
Avoid designing entirely around one perfect input. Happy Wheels physics are intentionally chaotic, so a challenge can be demanding without requiring a single frame-perfect movement.
Learn the Essential Editor Tools
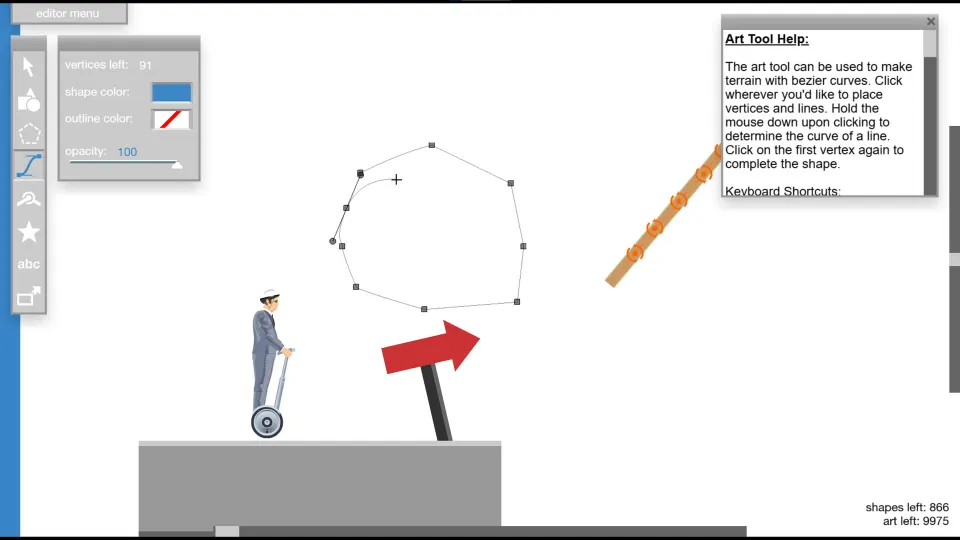
The Happy Wheels level editor has separate tools for selecting objects, creating shapes, drawing polygons, connecting objects with joints, adding special items, placing text, and setting triggers. The help panel is worth reading whenever you switch tools; it lists relevant actions and shortcuts for the current task.
| Tool | Best use | Important consideration |
|---|---|---|
| Selection tool | Moving, editing, copying, and grouping objects | Drag-select or use multi-selection to edit related pieces together |
| Shape tool | Rectangles, circles, and triangles | Use for floors, ramps, walls, and simple moving parts |
| Polygon tool | Custom scenery and irregular shapes | Non-interactive polygons are especially useful for art |
| Joint tool | Hinges, elevators, wheels, and machines | A joint can connect two objects or an object to the background |
| Special items | Built-in hazards, props, and gameplay objects | Some consume substantial level resources |
| Text tool | Instructions, labels, and jokes | Keep messages short enough to read while moving |
| Trigger tool | Events activated by a player or object | Test every target and repeat setting carefully |
Shapes can be interactive or non-interactive. Interactive shapes participate in physics, so they can block, fall, rotate, or crush the character. Non-interactive shapes are ideal for backgrounds, signage, decorative silhouettes, and visual framing because players pass through them.
Use density deliberately. A very dense object feels heavy, while a lighter object may move or topple more easily. Fixed objects stay anchored, which makes them suitable for terrain and stable platforms. Before creating elaborate machinery, test a single moving part with the intended character.
The polygon tool is excellent for visual polish, but it can also create confusing collision surfaces if used carelessly. For gameplay geometry, simple shapes are usually more predictable. Build the physical floor with clean rectangles or triangles, then place non-interactive art behind or around it.
Build Hazards That Feel Fair
A good hazard should punish an understandable mistake. If a player dies without seeing the danger, knowing the timing, or having a reasonable way to recover, the level feels arbitrary rather than difficult.
Text can provide quick guidance, but level design should do most of the teaching. Put spikes where they are visible, use color contrast around dangerous machinery, and leave enough camera space for players to read an upcoming jump.
| Hazard type | Fair design approach | Common problem |
|---|---|---|
| Spikes | Leave a visible run-up and landing area | Hiding them directly after a blind drop |
| Falling objects | Telegraph them with a trigger area or visual cue | Releasing them before the camera reveals them |
| Rotating gears | Give players a safe timing window | Making contact unavoidable due to tight spacing |
| Rope swings | Provide an understandable launch point | Requiring a perfect grab with no recovery |
| Moving platforms | Match speed to the player’s reaction time | Starting movement before the player can board |
Joints are the foundation for many memorable contraptions. A pin joint allows rotation, making it useful for wheels, doors, pendulums, and gears. A sliding joint restricts motion to one axis, which is useful for elevators, pushing walls, and guided platforms.
For a basic gear, combine a circle with repeated rectangular teeth, group the pieces, and pin the assembly at its center. Add a motor to the pin joint, then test the speed and torque before adding a second gear. Neighboring gears should rotate in opposite directions and have a small gap, not overlap heavily.
Use triggers once the basic level works. A trigger can activate events when the character or another object enters its area, but it becomes difficult to debug when a level contains too many overlapping trigger zones. Name your intent through layout: keep the trigger close to the event it causes unless a surprise is the point.
Test, Refine, and Publish Your Level
Pressing T tests the current level and returns you to editing when pressed again. Test after every meaningful change. A level that worked before adding one decorative object may behave differently once the object collides, shifts weight, or blocks the camera.
| Testing pass | Check for | Fix if needed |
|---|---|---|
| First playable pass | Can the character reach the first objective? | Remove blocked routes and impossible starts |
| Physics pass | Do joints, platforms, and props behave consistently? | Adjust placement, density, motors, or fixed settings |
| Visibility pass | Can players see hazards and instructions? | Improve spacing, color, text, and camera approach |
| Difficulty pass | Can a capable player finish without lucky physics? | Add recovery room or simplify a bottleneck |
| Final pass | Does the flag work and does the level end cleanly? | Confirm the intended completion route |
Keyboard shortcuts save considerable time. Command/Ctrl + Z undoes the last action, Z and X rotate selected objects, and Delete or Backspace removes them. Copy and paste selected construction pieces when building repeated platforms or machines instead of recreating each part.
Grouping is especially helpful for moving scenery and custom vehicles. Grouped items act as a single unit and appear above ungrouped objects. If you want text or decoration to travel with an object, group it with a non-fixed shape. Foreground grouping can place visual elements over the character, so use it sparingly to avoid blocking gameplay.
Save private versions while you iterate. Public levels cannot simply be overwritten once published; a revised public version needs to be saved as a new level. Give early drafts clear names, such as “Gear Trial Test 1,” so you do not accidentally publish a work-in-progress.
The editor also supports background choices such as a blank scene, green hills, or a city backdrop, along with a background color. Choose a backdrop that supports readability. A busy background can make thin platforms, dark hazards, and small text harder to identify.
Keep the editor’s object limits in mind. Large amounts of art, special items, or complex machinery can make a level harder to manage and may affect performance. Prioritize the objects players interact with first, then add decoration only where it improves the route or atmosphere.
FAQ
How do I enter the happy wheels level editor?
From the game’s main options, open the level editor and begin with the default character on the stage. The editor includes tools for shapes, joints, special items, text, and triggers, plus a menu for testing, saving, loading, and starting a new level.
What is the fastest way to test a level?
Press T to test the current build, then press T again to return to editing. Test frequently, especially after adding moving parts, triggers, or collision objects.
How do I make an elevator or moving platform?
Create the platform, then use a sliding joint to constrain its movement along one axis. Test its travel distance and speed with the intended character before placing hazards around it.
Can I make custom vehicles?
Yes. Combine shapes, group related parts, and connect moving components with joints. Start with a simple chassis and wheels before adding motors, decoration, or complicated mechanisms.
Why should I use non-interactive shapes?
Non-interactive shapes do not collide with characters or physics objects. They are useful for background art, visual instructions, and decorations that should not interfere with the course.