Which Level 9 This Guide Covers
To follow the correct route through Business Guy’s Level 9 in the Happy Wheels mobile app, drop into the hole beside the starting position. Jumping over that opening leads toward a harpoon trap. Taking the downward route puts you on the path through moving spikes, ground hazards, and a rising platform that eventually carries you toward the finish.
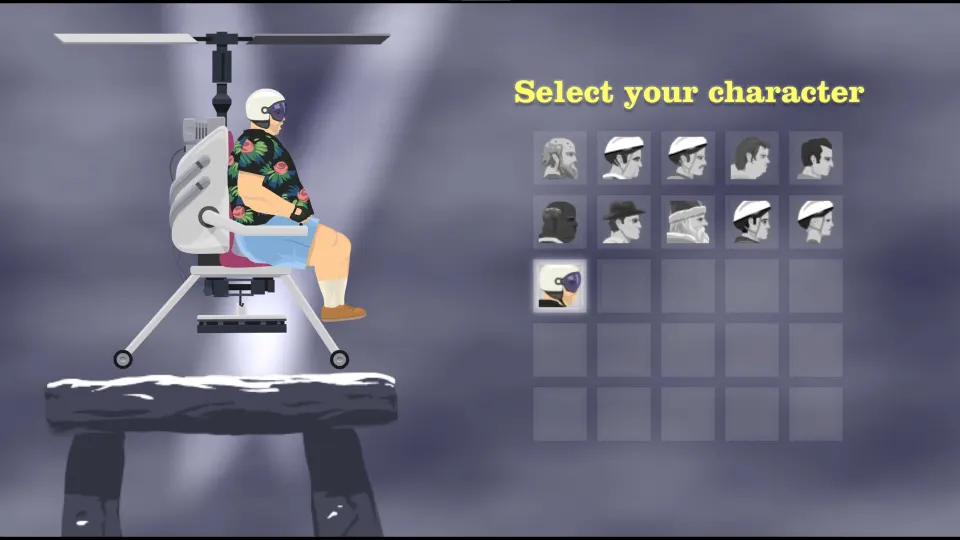
The mobile app has separate character chapters, so “Level 9” does not identify just one course. This walkthrough covers the Business Guy chapter, whose playable character is listed as Segway Guy.
| Mobile chapter | Level | Playable character |
|---|---|---|
| Business Guy | Ninth level in the chapter | Segway Guy |
| Irresponsible Dad | Ninth level in the chapter | Irresponsible Dad |
If you are playing as Irresponsible Dad, you are on a different Level 9. Check the chapter before trying to match the obstacle sequence described here.
Opening Hole and Moving Spike Corridors
Drop through the opening at the start. The forward path is a trap: a harpoon gun shoots the player, and nearby boosts swing them around it before they are impaled on spikes. The signs near the opening warn against taking that route.
Your first landing places you between two vertical spike sets facing inward. Both start traveling to the right immediately. You must move with them while jumping over landmines on the floor.
| Corridor | Spike movement | Route onward |
|---|---|---|
| First moving spike pair | To the right | Follow the floor until it ends, then drop |
| Second moving spike pair | To the left | Follow the reversed route to another drop |
The first corridor requires controlled movement. Remaining still lets the trailing spikes catch you, while moving too far ahead brings you toward the leading set. Each mine adds a jump inside that limited space.
Use this sequence to organize the opening:
- After landing, begin moving right with the first spike pair.
- Jump over each mine without making a larger leap than necessary.
- Keep your position within the moving space rather than racing toward its front.
- When the floor ends, descend into the next corridor.
- Change direction after landing because the second pair travels left.
The second corridor repeats the moving-spike arrangement but reverses its direction. Do not carry your rightward movement into this section automatically. Watch the new pair, follow it left, and continue until the floor ends again.
Wide Gaps, Spring Platform, and Boosted Jump
After the second corridor, the course introduces two wide gaps. Each has an oscillating spike block, so clearing the distance is only part of the challenge. Your jump also needs to avoid the block as it moves.
| Obstacle | What happens | What to watch |
|---|---|---|
| Two wide gaps | A moving spike block guards each crossing | The block’s position as you approach |
| Short staircase | Stairs follow the gap section | Your transition onto the next stretch |
| Spring platform | It launches you over ground spikes | The launch and landing |
| Boosted ramp | Boosts accelerate you up a ramp and across a large hole | The approach into the jump |
| Two arrow guns | They fire while you are airborne | The exposed crossing |
Watch each spike block before committing to its gap. A clear-looking opening can close as the block oscillates, so judge the moving obstacle rather than only the far edge of the platform. Handle the two crossings separately; getting past the first does not establish the timing for the second.
A short flight of stairs follows. Beyond it, a spring platform pushes you over spikes on the ground. Recognize this as a launch section and prepare for where you will land.
The next stretch leads onto a ramp with several boosts. Those boosts build the speed needed for the large crossing ahead. Continue through the ramp sequence and expect the level to launch you over the hole.
Two arrow guns activate during that airborne passage. Reaching the far side brings you to the final major obstacle: a long platform that begins rising when you step onto it. Prepare to switch from forward travel to positioning yourself beneath openings overhead.
Rising Platform and the Finish
The final lift carries you upward through several layers of ceiling spikes. Each layer contains a small opening, and signs point toward the gaps you need to use.
The platform starts rising immediately after you board it. Look above your character and identify the next opening early. Your task is to move into alignment before the lift carries you into that spike layer.
| Lift stage | Hazard or mechanism | Route cue |
|---|---|---|
| Initial ascent | Multiple spike ceilings with small gaps | Signs guide you toward each opening |
| Second-to-last spike layer | The platform picks up a landmine resting above the spikes | Notice the additional hazard |
| Final opening | The carried mine will strike the last spike ceiling | A stop sign warns you |
| After the lift stops | A boost launches you upward; a fan pushes you right | The launch leads to the finish |
Work through the ceilings one at a time. Move toward the indicated gap, pass through it, then locate the opening in the next layer. Staying in one horizontal position throughout the ascent will not follow the route indicated by the signs.
The important complication arrives near the top. At the second-to-last spike layer, the rising platform collects a landmine that was sitting on top of the spikes. The mine then travels upward with the platform.
At the final opening, a stop sign warns about this carried mine. As the lift continues upward, the mine contacts the final spike ceiling and explodes. Respect that warning and let the explosion occur before continuing past the marked point.
The platform eventually stops. At that stage, move back toward the boost behind you. It sends you into the air, and a fan redirects you to the right, placing you on the finish line.
How to Make Retries More Useful
When an attempt fails, identify the particular transition that caused it. This level combines several different movement demands, so one adjustment will not solve every section.
Use the point of failure to choose what to focus on next:
- Harpoon trap at the opening: Drop into the starting hole instead of jumping across it.
- Contact with the first moving spike pair: Adjust how far you move while clearing mines. You need room on both sides.
- Trouble immediately after the first corridor: Remember that the second pair moves left.
- Collision at a wide gap: Watch the oscillating block as well as the landing area.
- Death during the lift ascent: Read the next directional sign before the platform reaches that ceiling.
- Failure near the final opening: Account for the mine the lift picks up and the stop sign warning.
FAQ
Why do searches for happy wheels level 9 show different characters?
The Happy Wheels mobile app has a ninth level in more than one character chapter. Business Guy’s Level 9 and Irresponsible Dad’s Level 9 are separate courses. This guide describes Business Guy’s course, including its moving spike corridors and rising platform finale.
Should I jump over the first hole?
No. Drop into it to enter the intended route. Continuing across the opening leads to a harpoon gun, surrounding boosts, and a spike trap. The hole takes you down to the first pair of moving vertical spikes.
How do I get past the moving spikes and mines?
Move right with the first spike pair and keep your jumps over the mines compact. You must stay inside the space between the spikes throughout the section. After the next drop, reverse direction: the second pair moves left.
What does the stop sign near the top mean?
It warns about the landmine collected during the lift’s ascent. The platform carries that mine into the final spike ceiling, causing an explosion. Let that event occur before continuing, then wait for the lift to stop before heading toward the finishing boost.
How do I reach the finish after the lift?
Once the platform stops, go to the boost behind you. It launches you upward, and a fan pushes you right onto the finish line. Simply reaching the top of the rising platform does not complete that final movement.
Where can I find the Irresponsible Dad version?
TopFin’s Happy Wheels Irresponsible Dad Levels 1–15 playlist includes a video titled “Happy Wheels Irresponsible Dad Level 9.” Its listed length is 1:48. That is the video duration, not a required completion time or a time limit for the level.